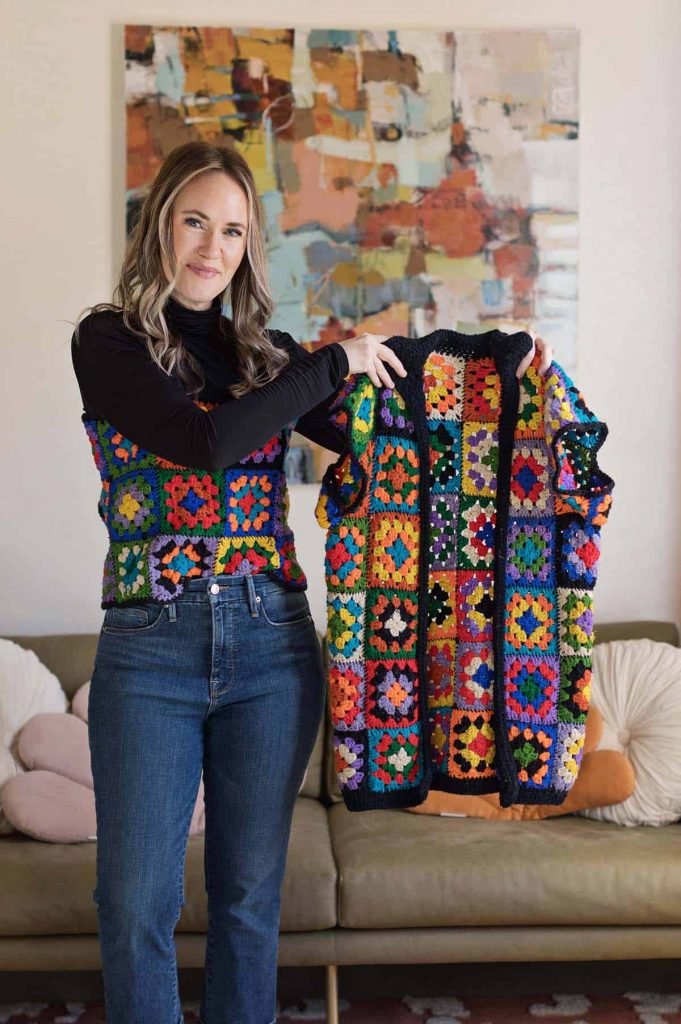

Recently, I had a vintage granny square crochet cardigan that was my great-grandmother’s (Grandma Lula) that I modified into a crop top. My goal was to use this garment that was special to me, but modify it into something I felt I would wear more often.
And although I have crocheted before, I wanted to make sure this project turned out as I was imagining it. I worked with a talented artist, Ashlee Elle, who is much more skilled at crochet than I am.
She was kind enough to share a tutorial on how she modified this crochet cardigan.

I’m Ashlee Elle, crocheter, maker, & owner of The Dream Crochet Shoppe. I love constructing new designs— especially reusing yarn, as well as past projects that I have created.
So when Emma wanted me to create a crochet top from a handmade cardigan she owned, I decided to create two different projects (the crochet top and the crochet hat) while maintaining the similar form of the original item.

Supplies:
4.5mm crochet hook
craft scissors or seam ripper
yarn needle
half a skein of black yarn (medium 4)

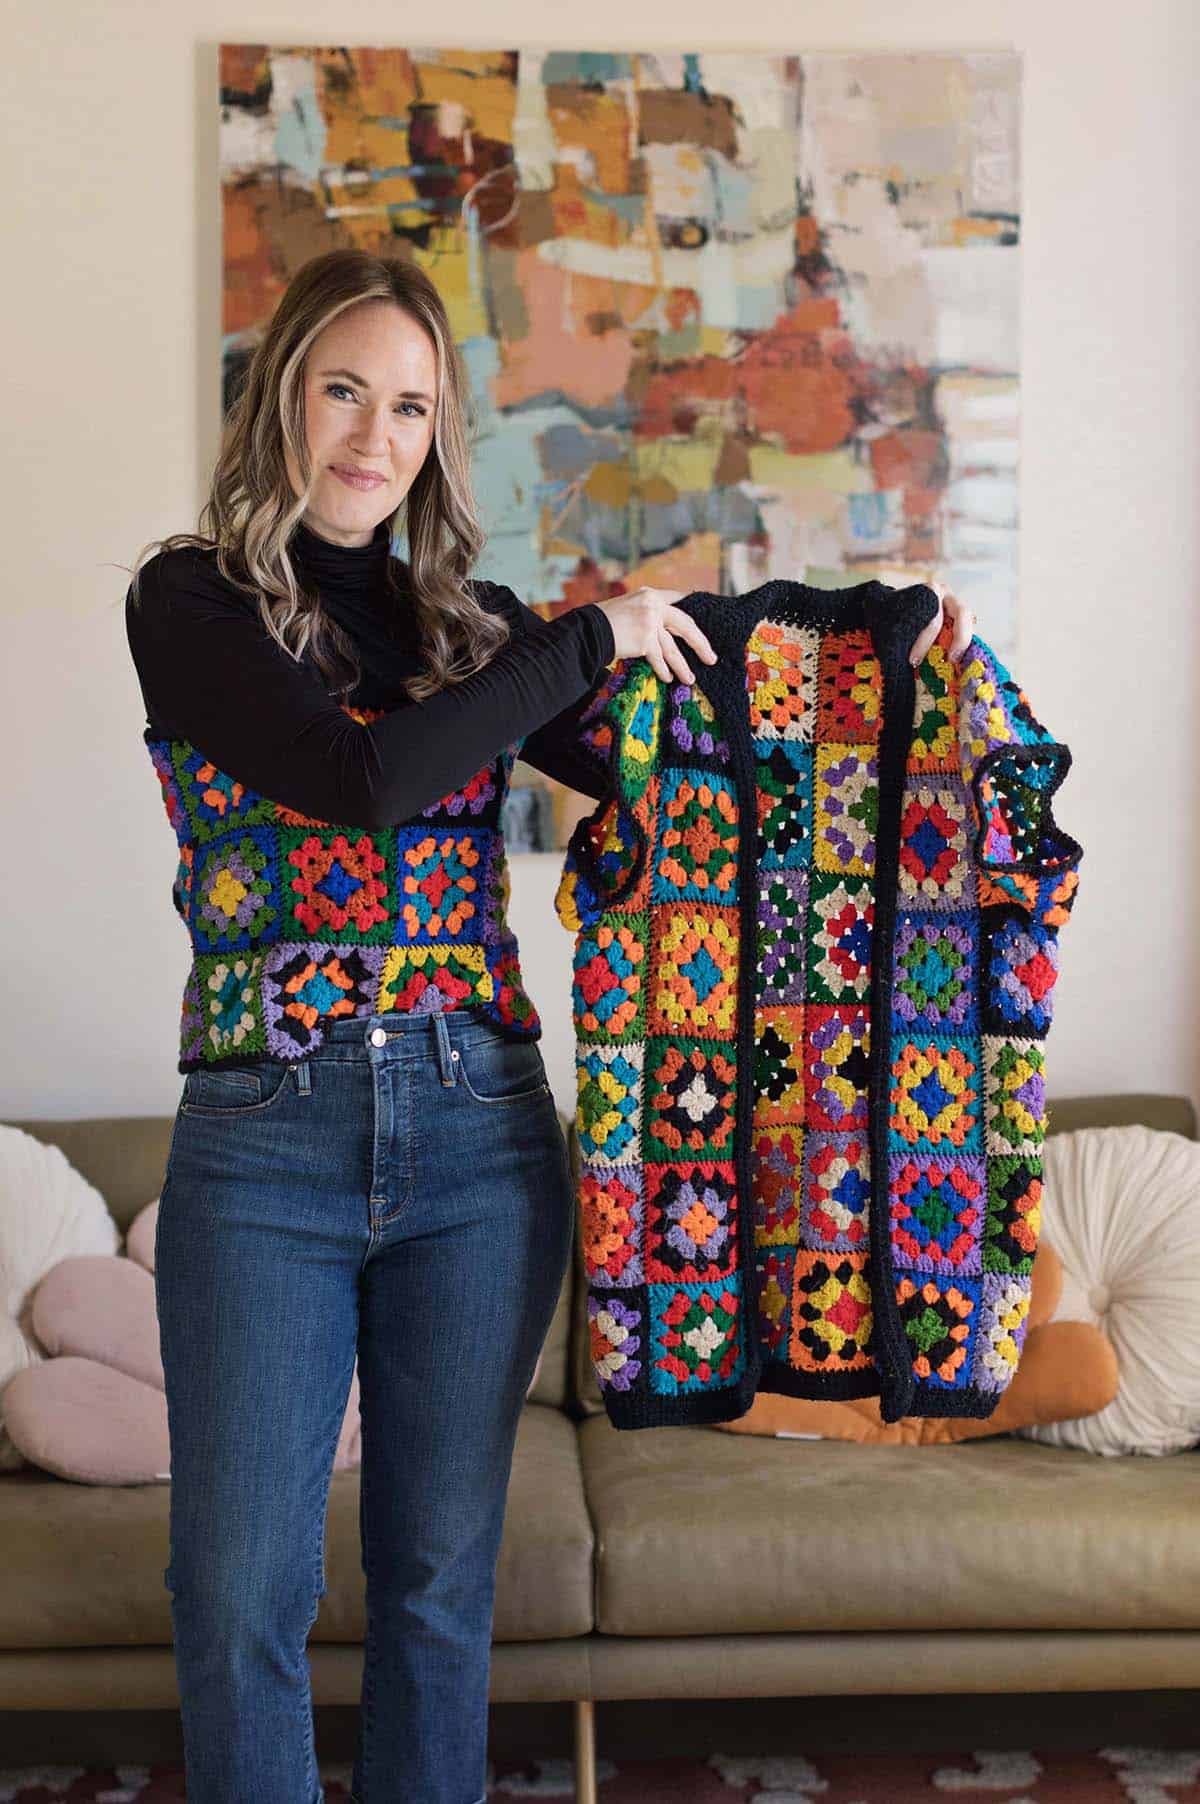
 Step One: Laying the cardigan flat, I cut the seams (using craft scissors) around the arm holes, wanting to primarily use the squares for both sides of the sleeves. Detaching both sides of the sleeves, also, wanting to maintain the wearability of the cardigan after the project.

Step Two: Then, cutting down vertically for one set of squares which would open the sleeves up, for two sets of one large connected squares. Also, I took off the bottom row of squares (an extra additional row of squares to later use) so that the final construction would fit more of a crop top style.


Step Three: With the yarn needle and a strand of yarn, sew the two squares together at the edges to create a full circle.

Step Four: Then, with my 4.5mm crochet hook and medium 4 black yarn, I inserted the hook into the side of the top and single crocheted for one round and fasten off and weaving in the ends for the finishing took to the top. I repeated the same method to offer the top a concise look by single crochet at the bottom of the top, as well.

Step Five: Creating the straps for the crochet top, I inserted my hook into the top round of the front of crochet top above the squares.
Chaining for 30 STS, to connect to the back of the top. At the same top round, SL ST to connect, then turning my work, to half double crochet, back towards to front of the top to fully construct the straps. SL ST to connect, fastening off and weaving in the ends. Skipping 22 STS, I rejoined the crochet hook to repeat the same method to construct two straps for the handmade top.


Perceiving that I had an extra row of squares and wanting to utilize all of the crafts, to complete the set I decided to create a crochet hat!
Supplies:
4.5mm crochet hook
craft scissors
yarn needle
half a skein of black yarn (medium 4)
extra large pom pom maker

Step One: With the yarn needle and a strand of yarn, sew the two end squares together at the edges to create a full circle.

Step Two: Insert the 4.5mm crochet hook into the top of the granny squares and single crochet around the squares to start forming the hat.
NOTE: Wanting to mirror the granny square, I used the granny square technique for the remaining portion of the hat.
RND1: CH 3, [does not count as a ST] CH 1, Skip 3 STS, and 3DC into every 3rd ST [after the skipped STS], at the end of, SL ST to the top of the starting chain to continue work.
RND2-RND5: CH 3, [does not count as a ST] CH 1 and 3DC into the open [CH1] space [created from the previous round], at the end of, SL ST to the top of the starting chain to continue work.
RND6: CH 3, [does not count as a ST] and 2DC into the open space [in between the 3DC from the previous round], at the end of, SL ST to the top of the starting chain to continue work.
RND7: CH 2, [does not count as a ST] and 1HDC into the open space [in between the 2DC from from the previous round], at the end of, SL ST to the top of the starting chain to continue work.
Closing the top of the hat
RND8: CH 2, [does not count as a ST] and HDC2TOG into all of the STS for the entire round, at the end of, SL ST to the top of the starting chain to complete final work. Fasten off and weave in the STS at the top of the hat, to entirely close it.

Then, I created and added a pom pom. Here’s how:
Step One: Wrapping the yarn around the large pom pom maker for both sides, I cut and created the full extra large pom pom.

Step Two: Using the yarn needle and a strand of yarn I knotted the end of the strand. I went through the inside of the hat, placing the pom pom at the top of the hat (at round 80 going through the pom pom). Turning to repeat, sewing through the pom pom into the hat, securing the pom pom at the top base of the hat.


Thank you Ashlee Elle! I’m wearing the crochet top with a turtleneck underneath in this photo because it’s currently winter, but I plan to wear the top all on its own this summer.

How to Modify a Crochet Cardigan
How to modify a granny square crochet cardigan into a tank top.
half a skein of black yarn
medium 4
Laying the cardigan flat, I cut the seams [using craft scissors] around the Armholes, wanting to primarily use the squares for both sides of the sleeves. Detaching both sides of the sleeves, also, wanting to maintain the wearability of the cardigan after the project
Step Two: Then, cutting down vertically for one set of squares which would open the sleeves up, for two sets of one large connected squares. Also, I took off the bottom row of squares (an extra additional row of squares to later use) so that the final construction would fit more of a crop top style.
Step Three: With the yarn needle and a strand of yarn, sew the two squares together at the edges to create a full circle.
Step Four: Then, with my 4.5mm crochet hook and medium 4 black yarn, I inserted the hook into the side of the top and single crocheted for one round and fasten off and weaving in the ends for the finishing took to the top. I repeated the same method to offer the top a concise look by single crochet at the bottom of the top, as we
Step Five: Creating the straps for the crochet top, I inserted my hook into the top round of the front of crochet top above the squares.
Chaining for 30 STS, to connect to the back of the top. At the same top round, SL ST to connect, then turning my work, to half double crochet, back towards to front of the top to fully construct the straps. SL ST to connect, fastening off and weaving in the ends. Skipping 22 STS, I rejoined the crochet hook to repeat the same method to construct two straps for the handmade top.
Credits // Author: Ashlee Elle. Photography: Janae Hardy and Ashlee Elle.